Creating a DIY teacher planner can save you money while giving you exactly what you need for your classroom. Unlike expensive store-bought planners that often include irrelevant pages, a DIY teacher planner lets you customize every detail for your upper elementary classroom needs. You’ll save time, money, and frustration by creating a planner that actually works for you.
Benefits of Creating Your Own DIY Teacher Planner
When you make your own planner, you get:
- Complete customization for your specific grade and needs
- Significant cost savings compared to store-bought options
- Only the pages you’ll actually use
- The ability to update and modify throughout the year
- Professional-looking results that colleagues will envy
DIY Teacher Planner in 5 Simple Steps
- Assemble with your preferred binding – Discbound, 3-ring binder, or spiral binding
- Choose your layout and pages – Decide on weekly vs. monthly layouts and essential pages
- Customize in PowerPoint or Google Slides – Add your personal touches and school-specific information
- Test print and adjust – Always print a few sample pages first
- Print on quality paper – Use 32 lb. paper for durability
My Teacher Planner Story
In 2010, I was excited to use my expensive, gift-wrapped teacher planner for student teaching. But I quickly discovered it wasn’t customizable, had irrelevant pages, and required handwriting all the dates. The following year, I created my own planner and was thrilled with the results – so much so that colleagues started requesting their own customized versions!
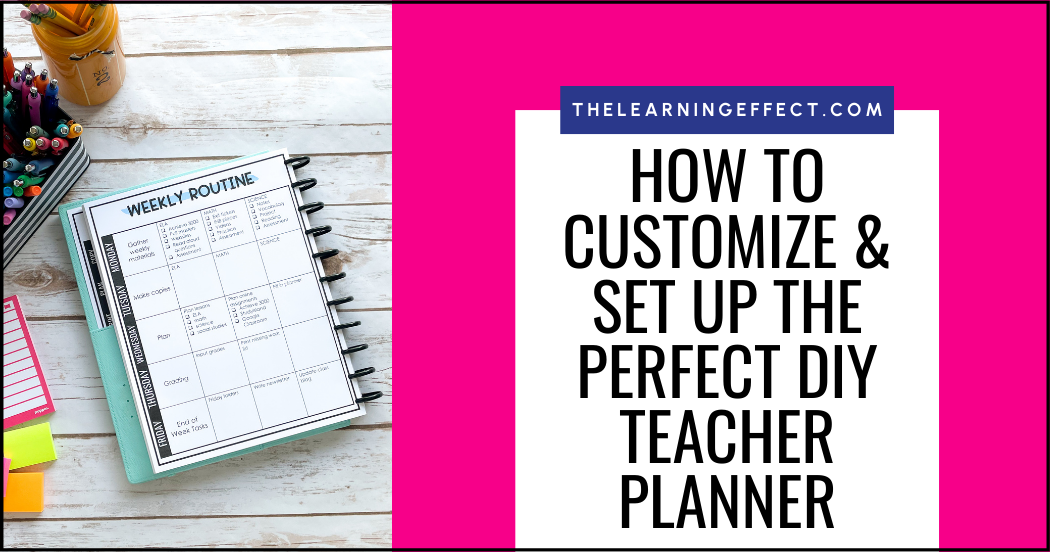
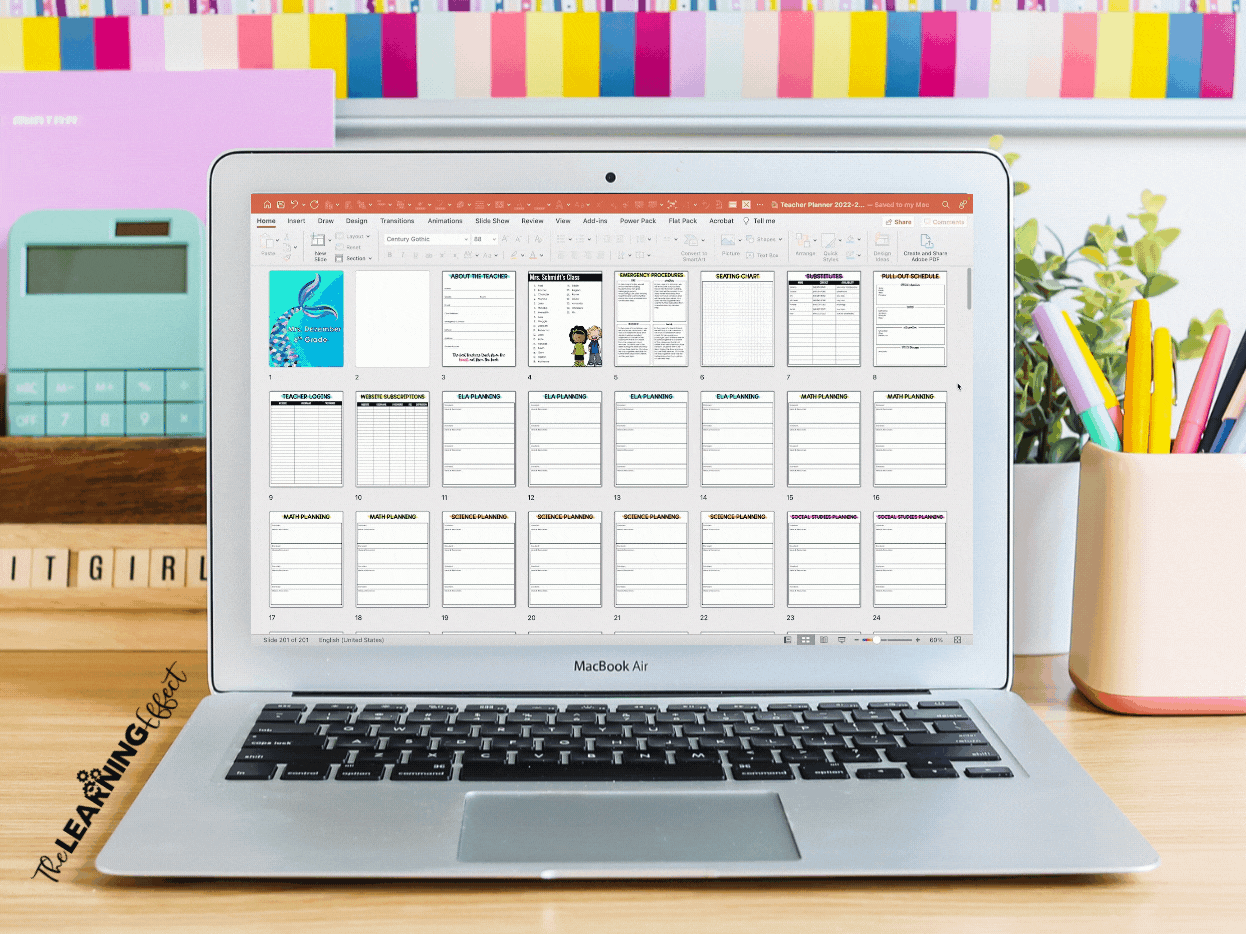
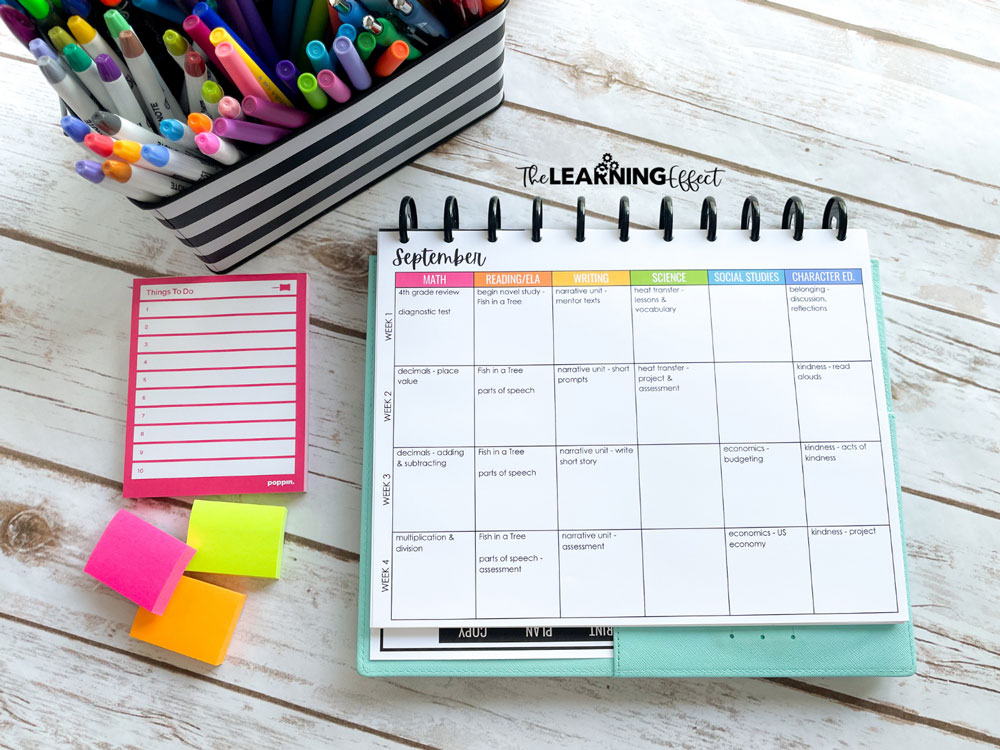
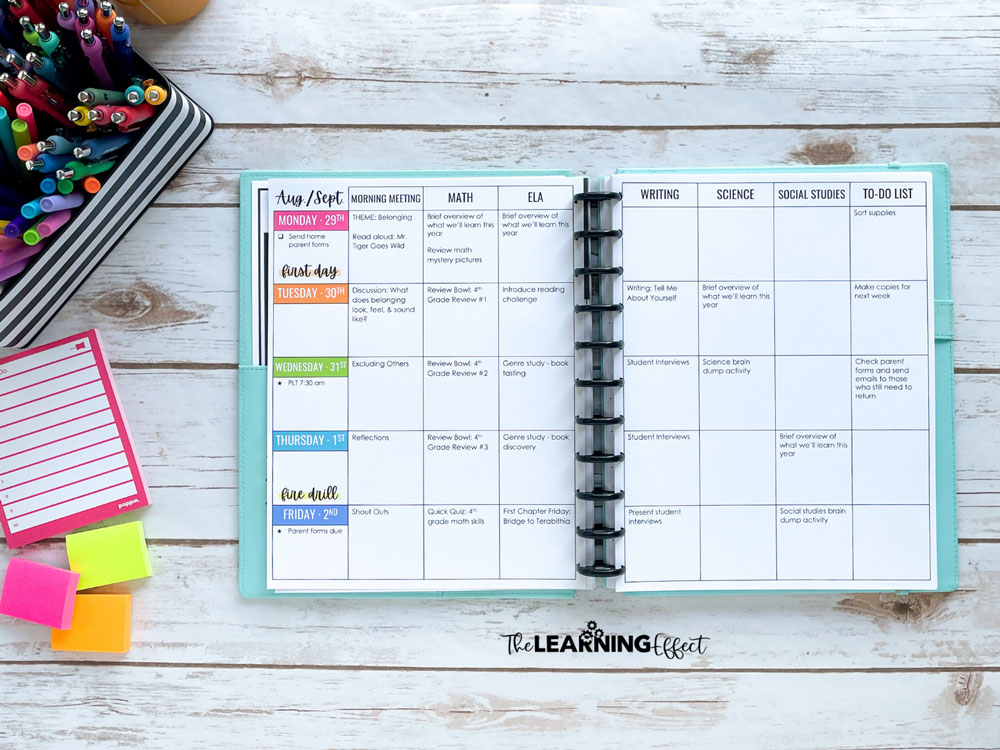
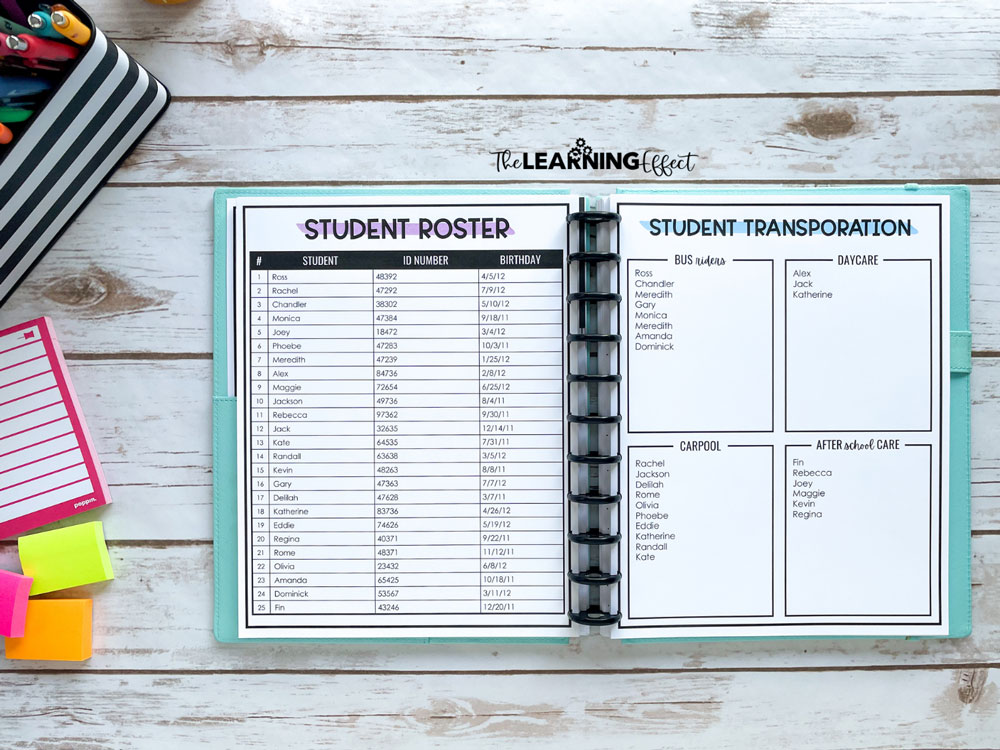
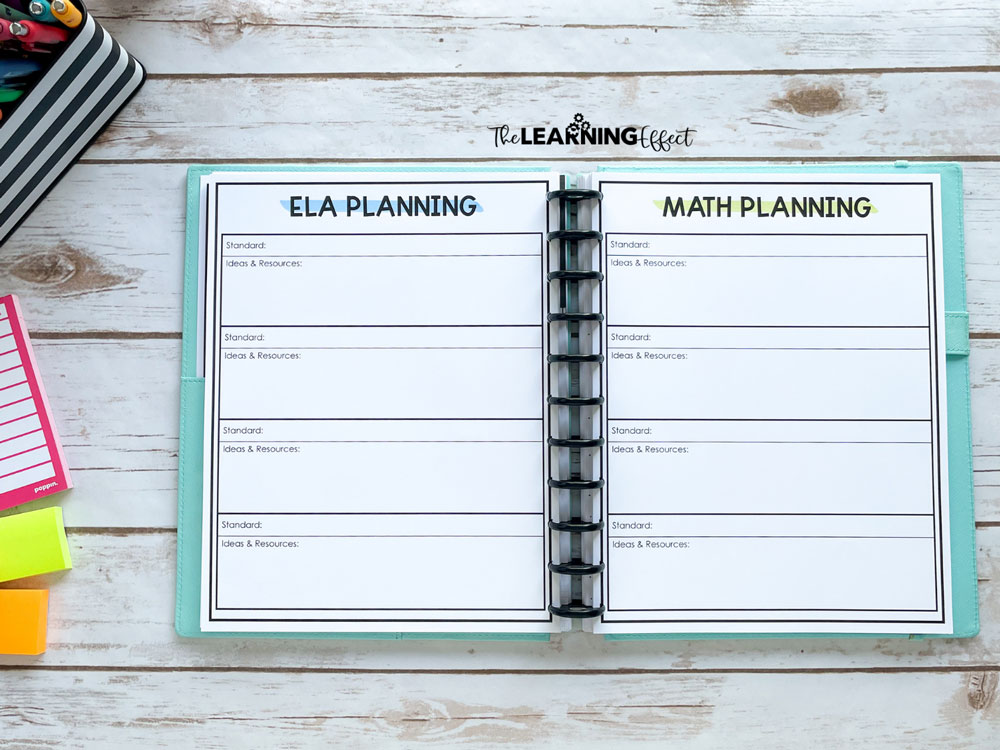
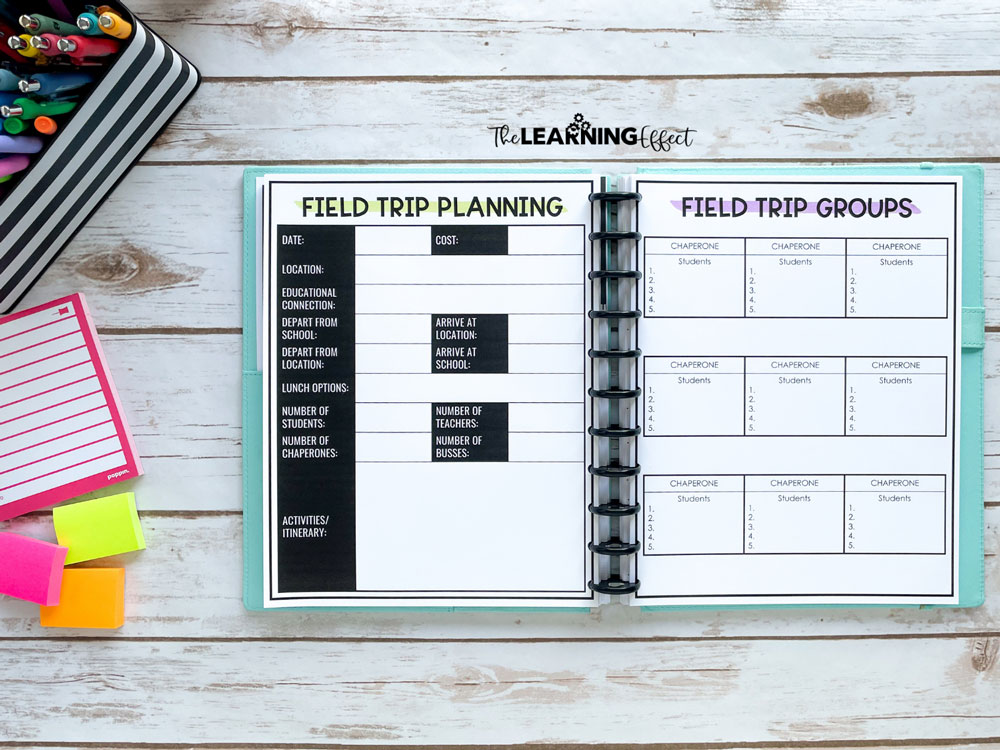
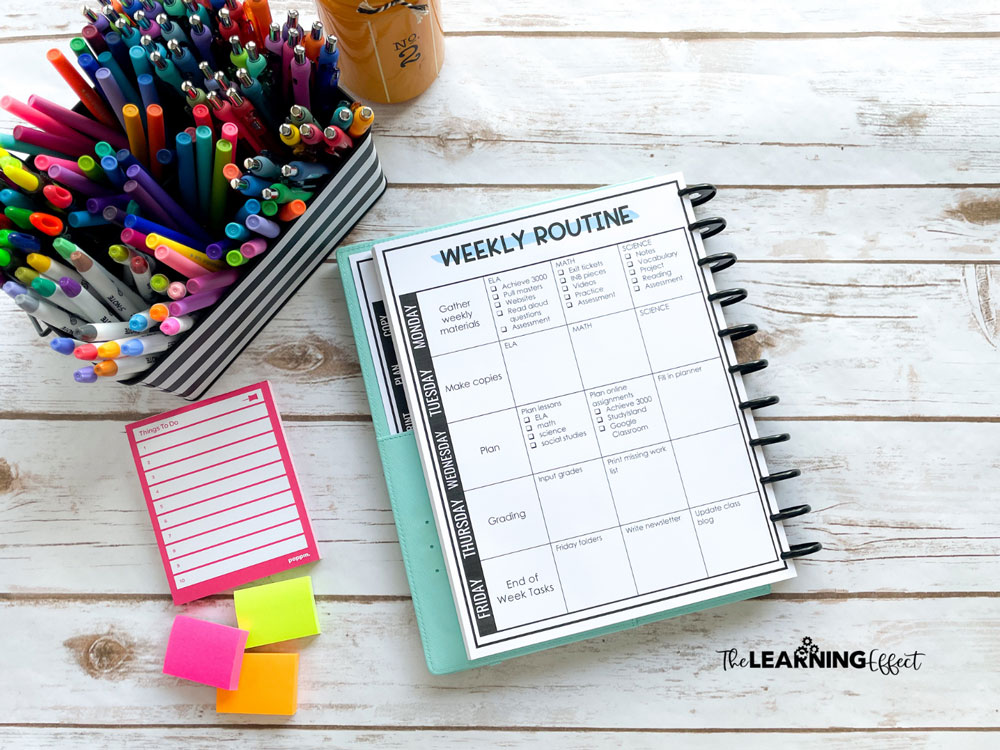
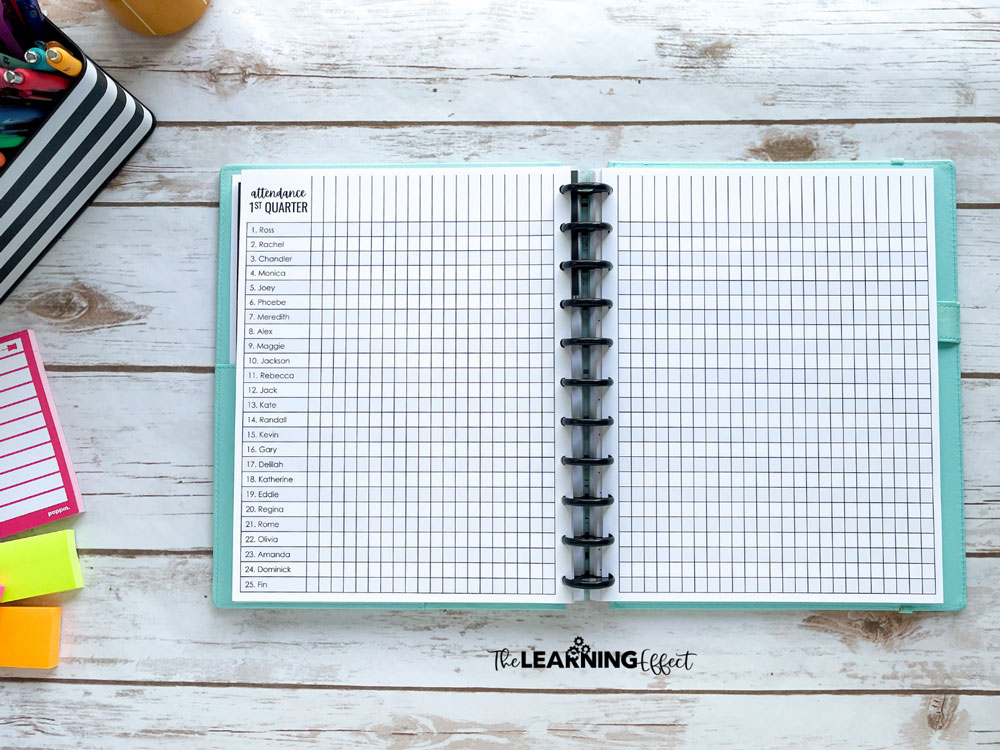
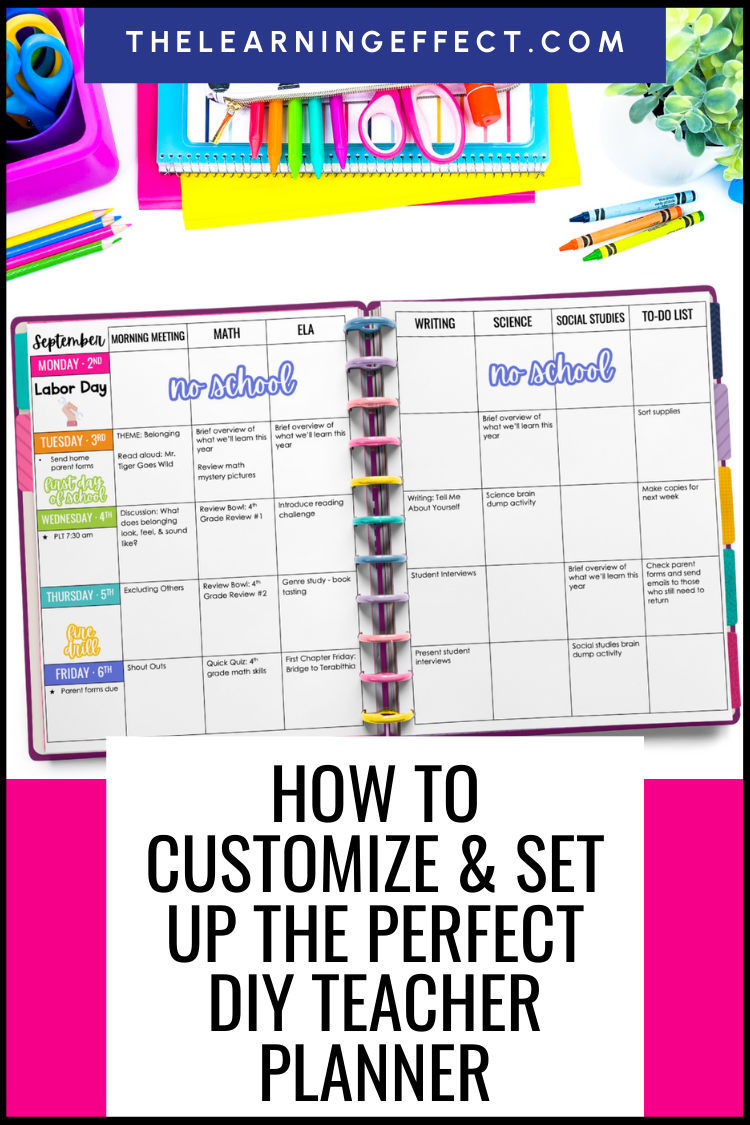
Essential Pages for Your DIY Teacher Planner
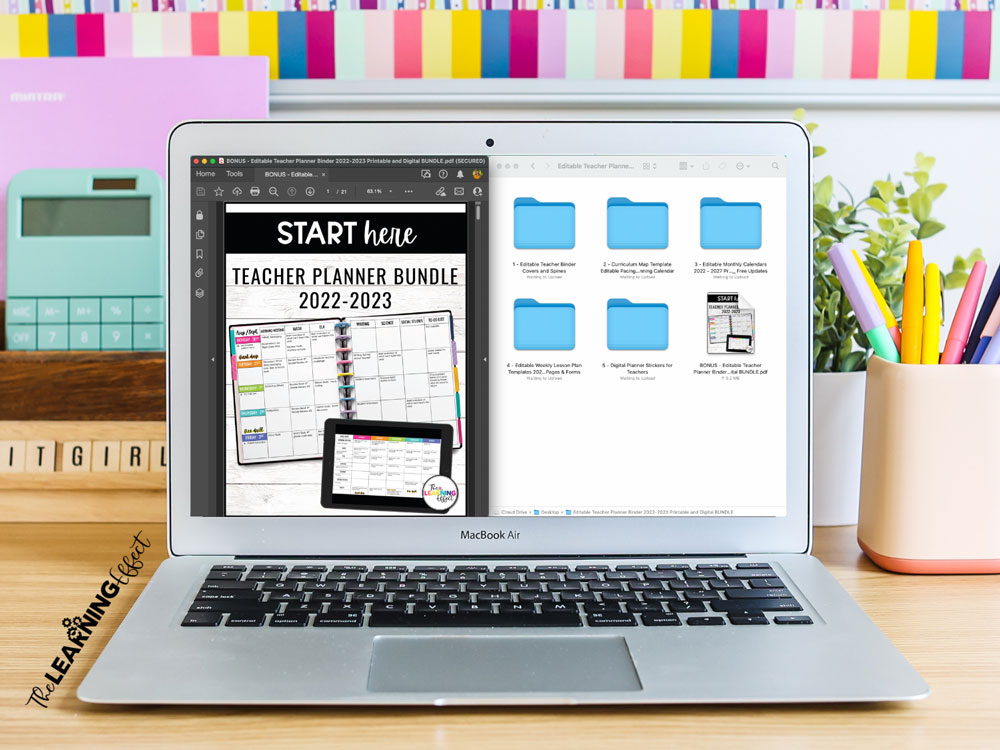
For this guide, I’ll be using photos from my Teacher Planner Bundle, which includes everything you need to create your perfect planner.
First, consider what type of layout works best for you. Do you prefer weekly and monthly layouts? Horizontal or vertical planning pages? What subjects do you need to plan for each day?
Essential pages to consider including:
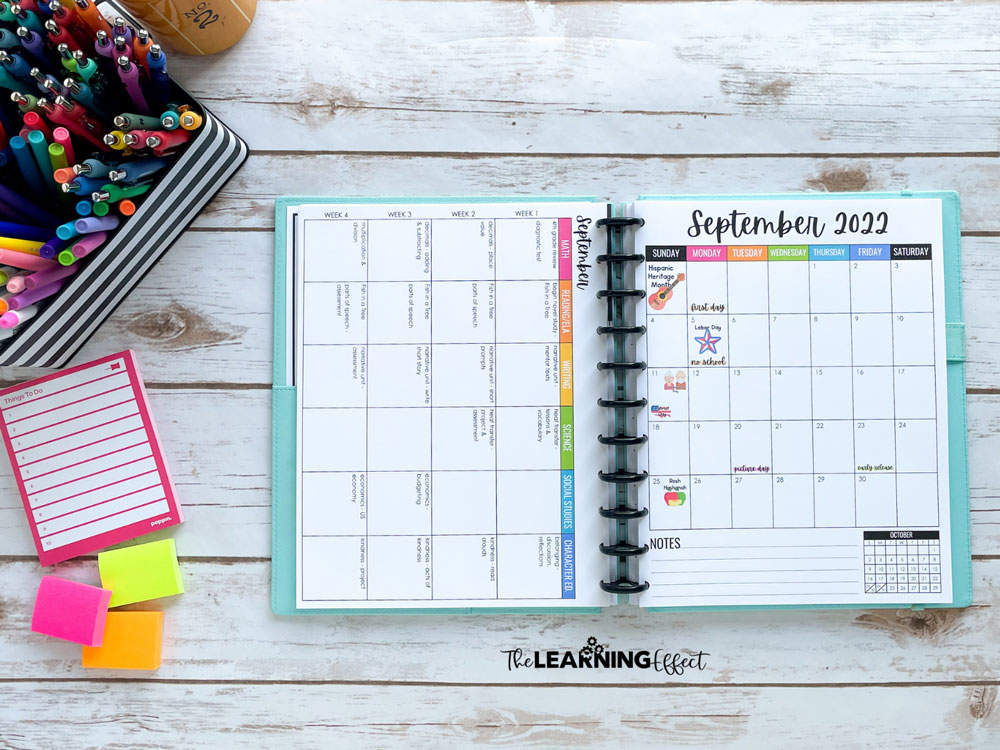
- Curriculum mapping templates for year-long planning
- Monthly calendars for big-picture organization
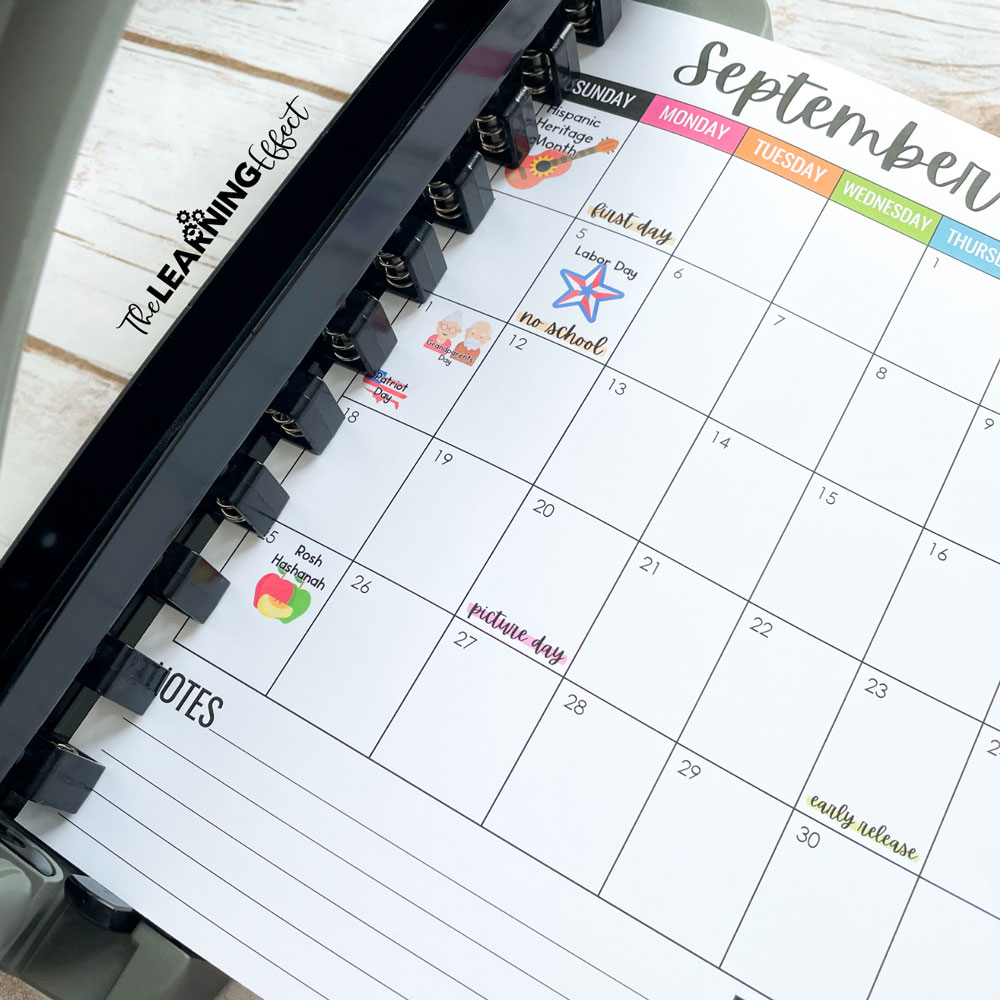
- Weekly planning layouts for detailed lesson plans
- Communication logs and parent contact information
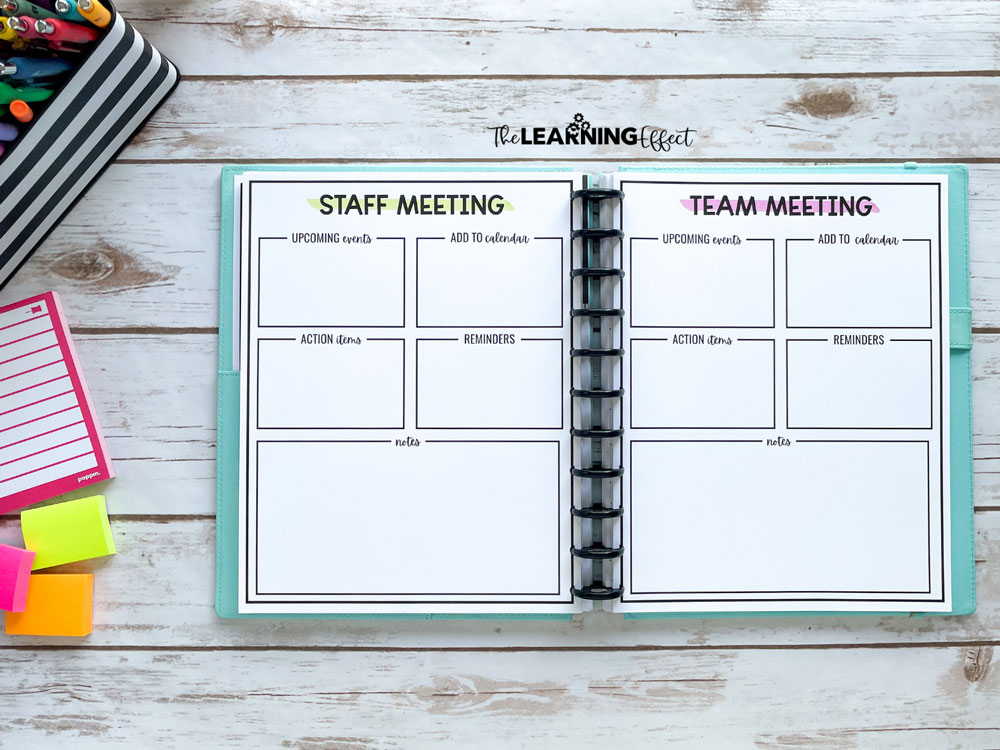
- Meeting and note-taking pages
- School events calendar
- Grade and attendance tracking logs
- Class lists with student information and special needs
Pro tip: Merge all your chosen pages into one file and arrange them in your preferred order. Remember that even-numbered pages will be on the left when your planner is open, and odd-numbered pages on the right.
Customizing Your DIY Teacher Planner
This is where the magic happens! You get to make all the customizations you want without spending extra money. Choose your cover design, select divider sections, add digital stickers, and type in recurring information so you don’t have to handwrite it later.
You can customize:
- Weekly planning template titles and layouts
- Number of planning rows or columns
- Fonts and color schemes
- Subject areas and time blocks
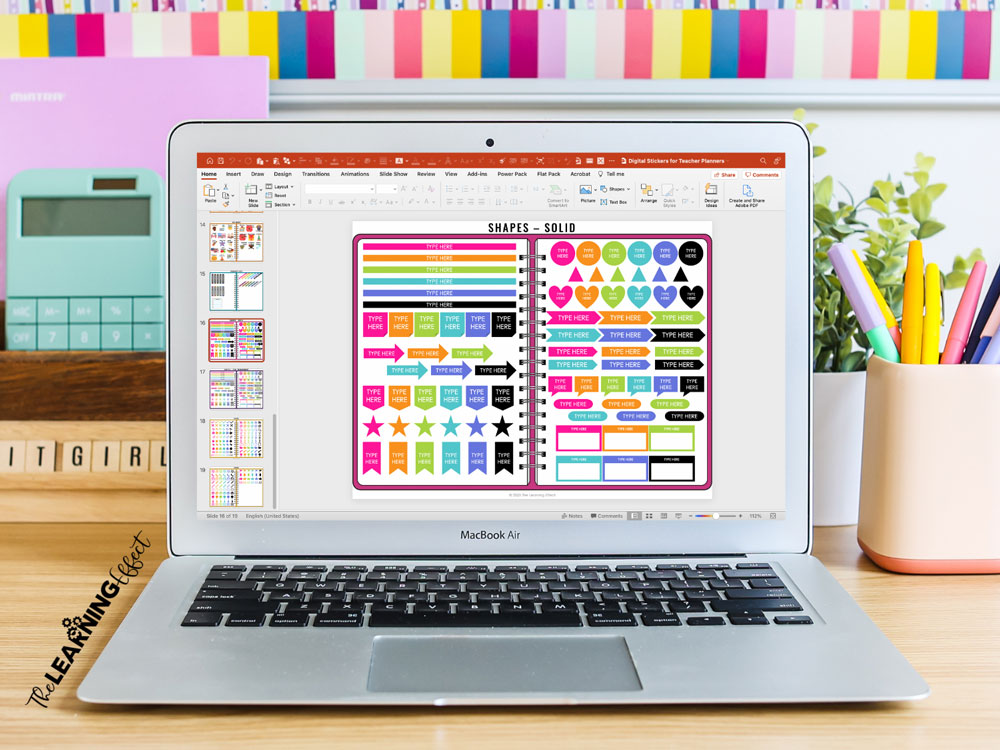
One of my favorite customization tricks is using digital stickers – even for printed planners! Before printing, I add digital stickers to highlight school events, early dismissals, staff meetings, and days off. It’s an easy way to make important information stand out.
Cost-Effective Printing Tips for Your DIY Teacher Planner
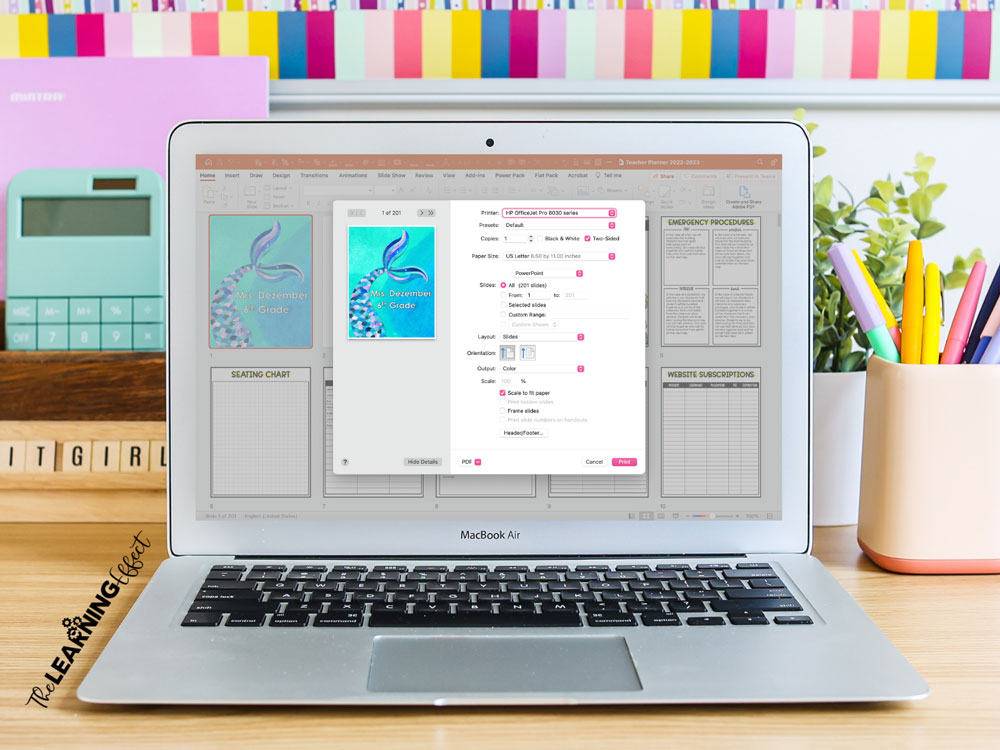
Always test print a few pages before printing your entire planner. This simple step can save you from costly mistakes and paper waste.
Make sure you’re printing double-sided, with odd pages on the front and even pages on the back. I recommend using 32 lb. paper instead of regular printer paper because it:
- Holds up better with disc binding and doesn’t tear easily
- Prevents ink bleed-through from pens
- Makes pencil erasing much easier
- Gives your planner a professional feel
Money-saving tip: If you have an HP printer, consider HP Instant Ink to keep printing costs low for your annual planner.
DIY Teacher Planner Assembly Options
How will you put your planner together? You have several options:
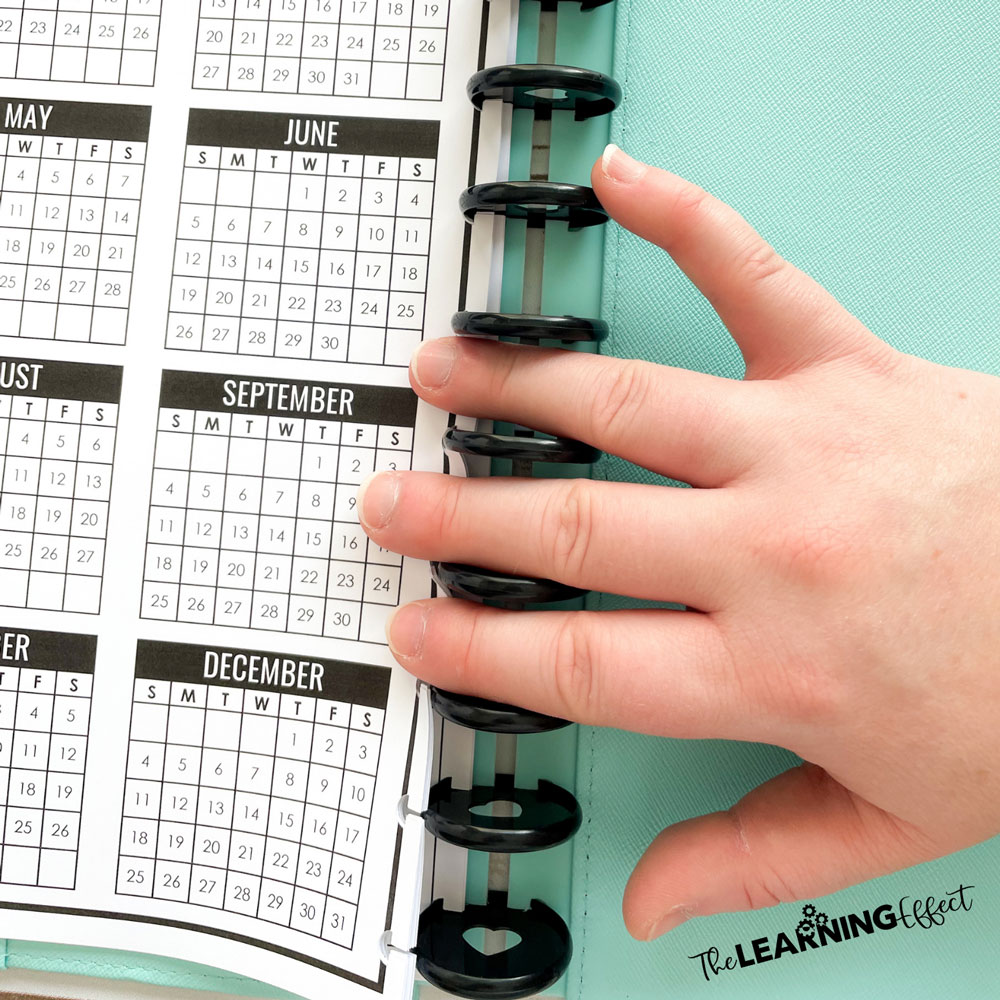
- Discbound binding (my personal favorite – like Happy Planners)
- 3-ring binder for easy page additions
- Professional binding at a print shop
- Comb or spiral binding for a permanent solution
I prefer discbound binding because you can easily add or remove pages anywhere, customize with different colored discs, and change covers throughout the year. The initial investment in a discbound punch pays for itself quickly.

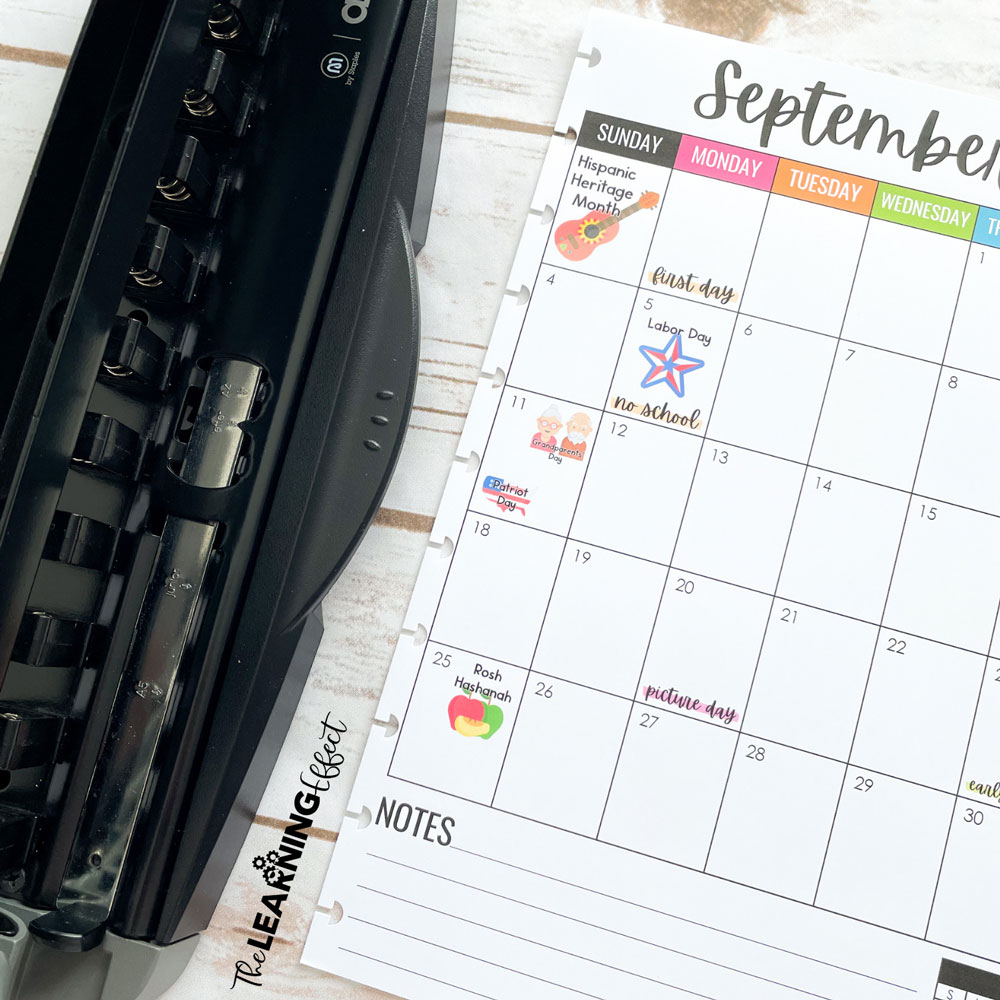
Assembly tip: If you choose discbound, take your time punching and assembling pages. The 5-10 minutes you spend being careful will keep your pages in good shape all year long.

A Peek Inside My Planner
When I was teaching upper elementary, my planner included curriculum mapping pages, weekly planning layouts, student rosters, emergency procedures, attendance tracking, and meeting notes. The beauty of a DIY approach is that every page served a specific purpose in my classroom routine.
Having everything in one customized planner meant I could save time during lesson planning and stay organized throughout the busy school year. It became an essential tool for increasing my productivity at school.


Frequently Asked Questions
What if I’m not tech-savvy? Is this too complicated?
Not at all! If you can use basic PowerPoint or Google Slides functions (adding text, changing fonts), you can create a DIY teacher planner. The templates do most of the work for you.
How long does this process take?
Customizing your planner takes about 1-2 hours initially. Printing and assembly add another 30-60 minutes. It’s a small time investment for a year-long tool!
Is it really cheaper than buying a planner?
Absolutely! After the initial setup, your main costs are paper and ink. You’ll typically spend under $20 for materials versus $40-80 for a comparable store-bought planner.
Can I update my planner during the year?
Yes! That’s one of the biggest advantages. You can print new pages, modify layouts, or add sections as your needs change throughout the school year.
Where can I find the supplies to put together a planner like this?
I created an Amazon list of recommended supplies for creating your own discbound planner.
This list contains affiliate links. As an Amazon Associate, I earn from qualifying purchases. This means I may earn a small commission if you purchase through my links at no extra cost to you.
Ready to Create Your Perfect DIY Teacher Planner?
Stop spending money on expensive planners that don’t meet your specific needs! Creating your own planner puts the power of organization back in your hands.
My Teacher Planner Bundle includes hundreds of colorful cover designs, editable planning pages, pre-dated calendars, curriculum mapping templates, and digital stickers. You can create a planner that’s perfectly tailored to your upper elementary classroom – whether you prefer to handwrite or type your plans.
The best part? You get FREE updates every year. This one-time purchase gives you access to all future updates, making it the last planner investment you’ll ever need to make.

What Teachers Are Saying About the DIY Teacher Planner Bundle
I LOVE this planner and all of the items it comes with. I love being able to customize my planner each year to exactly the way I want and like it. This resource has everything and anything you could possibly want as well as things that you didn’t know you needed, but end up using often. I love that this gets updated with the dates each year. Thank you so much for all of your hard work & sharing your creativity with us. It is greatly appreciated! ⭐️⭐️⭐️⭐️⭐️ Mindi G.
Absolutely love this set! I teach Middle School, so I spent a few hours editing the “Weekly Planning Template” into pages for my needs (Monday – Friday, Periods 1 – 5). I am SO thankful to have such an adorable EDITABLE template AND matching covers, calendars, notes sheets… everything I need in one place. I will be printing all pages then binding together in a spiral. My co-workers will be SO jealous! I’ve already sent your link to several of them! Thanks again for a great product. ⭐️⭐️⭐️⭐️⭐️ Kelli S.
BEST. PLANNER. EVER. I have used this for the past four years and will not use another planner. I love that I have the option to edit things, but honestly, I have not had to. Thanks for a great product!! ⭐️⭐️⭐️⭐️⭐️ Crystal D.
Your perfect DIY teacher planner is just a few clicks away. Say goodbye to wasted pages and hello to a planning system that actually works for your upper elementary classroom!
This post contains affiliate links. As an Amazon Associate, I earn from qualifying purchases. This means I may earn a small commission if you purchase through my links at no extra cost to you.
Links last updated 09/16/2025.