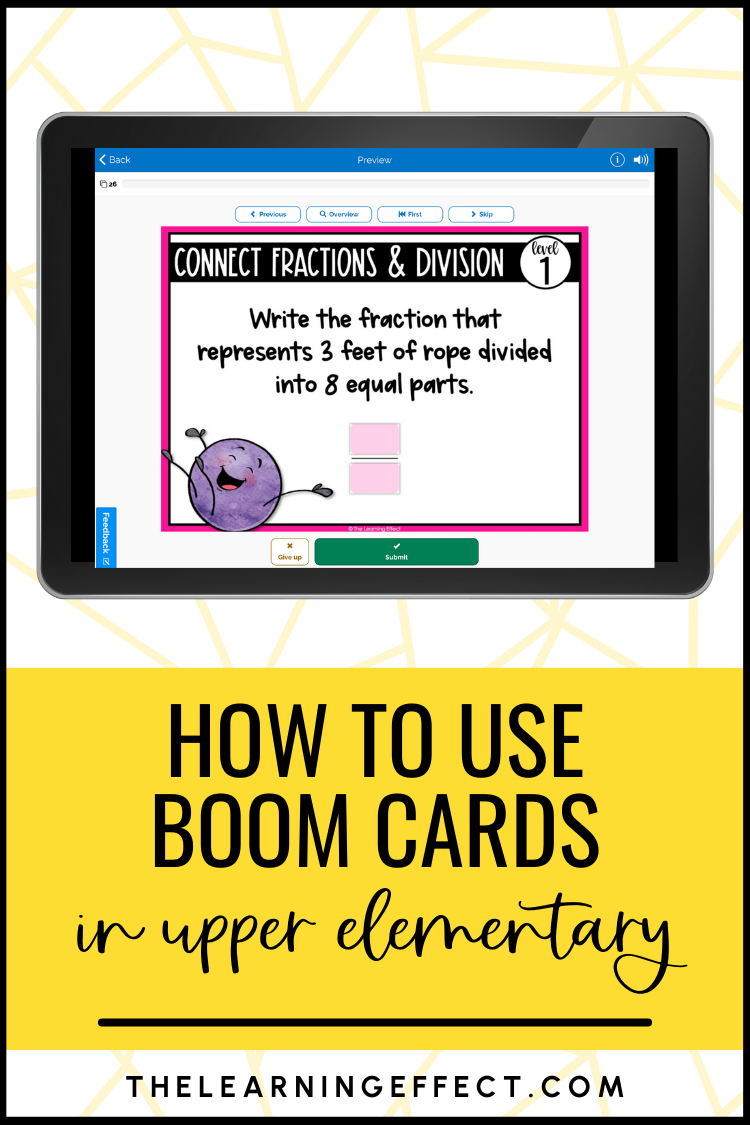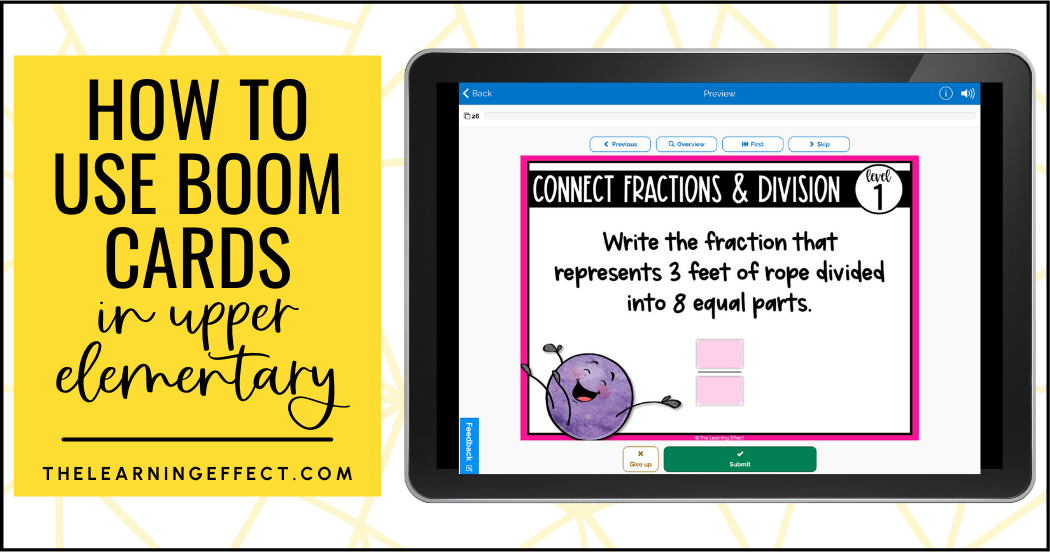
Are you ready to transform your classroom with digital learning that actually engages your students? Boom Cards are interactive, self-checking digital task cards that can save you hours of grading while giving your upper elementary students the practice they need. Whether you’re looking to supplement your math centers, provide differentiated practice, or simply add some tech excitement to your lessons, learning how to use Boom Cards effectively will be a game-changer for your classroom.
In this step-by-step guide, I’ll walk you through everything you need to know to get started with Boom Cards – from setting up your free account (it takes about 10 minutes!) to assigning activities and tracking student progress. By the end, you’ll have the confidence to seamlessly integrate these powerful tools into your teaching routine.
How to Set Up Your Boom Learning Classroom
Getting started with Boom Learning is easy and free! Teachers are required to have a Boom Learning account, but you can start with the free version and upgrade later if you decide to. Create an account to get started – the whole process takes less than 10 minutes.
Once your profile is complete, you can create your classroom. Click on Classes at the top of the screen, and then click New Classroom. You can now customize the class name, classroom code, and change your classroom settings.
Adding students is simple: Click New Student or Add Many Students. You can also import your students (on the left sidebar) if you use Google Classroom, Microsoft Teams, Clever, or ClassLink. This integration feature is a huge time-saver if you’re already using these platforms!
Quick tip from experience: I recommend creating a simple classroom code that’s easy for students to remember – it makes logging in much smoother, especially with younger learners.
To learn more about the specifics of the classroom settings, visit Boom’s Help Center.
How to Add Boom Cards to Your Library
Before you can assign Boom Cards to students, you need to add some to your Library. You can search the Boom Store and find some freebies to try out – perfect for testing the waters!
If you purchased Boom Cards from TpT or a website shop, you should receive a PDF with a link to redeem your purchase. Click the link, and it will open Boom Learning and ask you to log in or confirm that you’re logged in to the correct account. Then the Boom Deck will be added to your Library automatically.
Troubleshooting tip: If the link doesn’t work immediately, try logging out of Boom Learning and logging back in before clicking the redemption link again.
How to Customize Boom Cards Before Assigning
One of the best features of Boom Cards is the ability to customize them for your students’ needs. In your Library, you can edit some of the settings on a Boom Deck before you assign it.
Hide Cards
Want to exclude certain cards from a Boom Deck? You can do that! Click on Action, then Hide Cards. This is great for removing cards that are too challenging or concepts you haven’t covered yet. Keep in mind that hiding cards affects all students – you can’t customize it individually by student.
Custom Play Settings
You can customize a Boom Deck’s play settings by clicking on Action, then Custom Play Settings. Here you can:
- Change the number of cards per play: The default is 20, but you can shorten this for differentiation or lengthen it for extra practice
- Adjust difficulty: Perfect for meeting different learning needs in your classroom
Why this matters: These customization options let you use the same Boom Deck for multiple purposes – maybe 10 cards for your struggling learners and 25 cards for your advanced students.
How to Assign Boom Cards to Your Students
You can assign Boom Cards to students from your Library or in the Classes section. Here’s where the magic happens!
From Your Library
To assign from your Library, click Action, then choose either Hyperplay Link (paid accounts only) or Fast Pin.
Hyperplay Link automatically takes your students to that exact Boom Deck. Students log in with their username and password, any custom play settings you’ve modified will apply, and it tracks their progress for you to review under Reports.
Fast Pin gives you a link that doesn’t require students to log in. No data is collected, all cards in a deck will be played, and custom play settings aren’t used. Fast Pin links expire after 5 days (free account) or 14 days (paid account), but you can always generate a new one.
From Your Classes Page
To assign from your Classes page, click on your class, Assignments, and Assign More Decks. This bulk assignment view is perfect when you want to assign multiple activities at once.
Teacher tip: I love using Fast Pins for independent work time and Hyperplay Links when I need to track progress for assessment purposes.
Using Boom Cards with Your Learning Management System
If you use Google Classroom, Seesaw, or Microsoft Teams at your school, you can easily integrate Boom Cards by copying the Hyperplay Link or Fast Pin and pasting it into a new assignment. It’s that simple!
For step-by-step instructions for specific platforms, check out this helpful article from the Boom Help Center.
How to Use Boom Cards in Math Stations
One of my favorite ways to use Boom Cards is during math stations or centers. They’re perfect for independent practice because students get immediate feedback, and you don’t have to worry about managing paper copies or checking answers.
You can set up a technology station where students rotate through different Boom Card activities, or use them as early finisher activities. The self-checking feature means students can work independently while you focus on small group instruction. Plus, you can differentiate easily by assigning different decks or adjusting the number of cards for different groups.
If you’re looking to streamline your math stations and make them more engaging, I’ve put together a comprehensive guide that shows you exactly how to set up effective math stations that students love – including how to incorporate digital tools like Boom Cards seamlessly.
Start Using Boom Cards in Your Upper Elementary Classroom
Ready to give Boom Cards a try? Start small – pick one subject area or concept and test it out with your students. You’ll quickly see why so many upper elementary teachers are making Boom Cards a regular part of their teaching toolkit.
The immediate feedback keeps students engaged, the self-checking feature saves you time, and the ability to track progress gives you valuable data about student understanding. Whether you use them for whole class review, small group practice, or individual remediation, Boom Cards can adapt to fit your teaching style and your students’ needs.
I’ve created math Boom Cards specifically for grades 4, 5, and 6 that align with key concepts your students need to master. To see all of my available Boom Cards and find the perfect fit for your classroom, visit my Boom Learning store.
What concept will you tackle first with Boom Cards? Your students are going to love the interactive practice, and you’re going to love the time you save!